
Buying a Thailand eSIM: Just S$0.35/day and my personal experience
Before heading to Thailand, I did exactly what everyone else does: “Where can I get a Thailand eSIM that’s convenient so I’ll have internet the moment I land?” After a few solo trips to the Land of Smiles, I’ve settled on one go-to option: booking my Thailand eSIM via Klook. Since I already use the app for other travel bookings, it’s just super reliable for me.
If you’re looking for an eSIM that covers Malaysia, Singapore, and Thailand, check out the Southeast Asia eSIM. Just a heads-up: it often includes Vietnam in the coverage, so make sure to switch it off immediately upon activation to avoid wasting your data days!
You can also check out my review for the eSIM that covers both Singapore and Thailand if your trip involves both countries.
And if you are traveling from Singapore to Malaysia and need to buy a Malaysia eSIM for just S$0.75/day, you can check that out too.
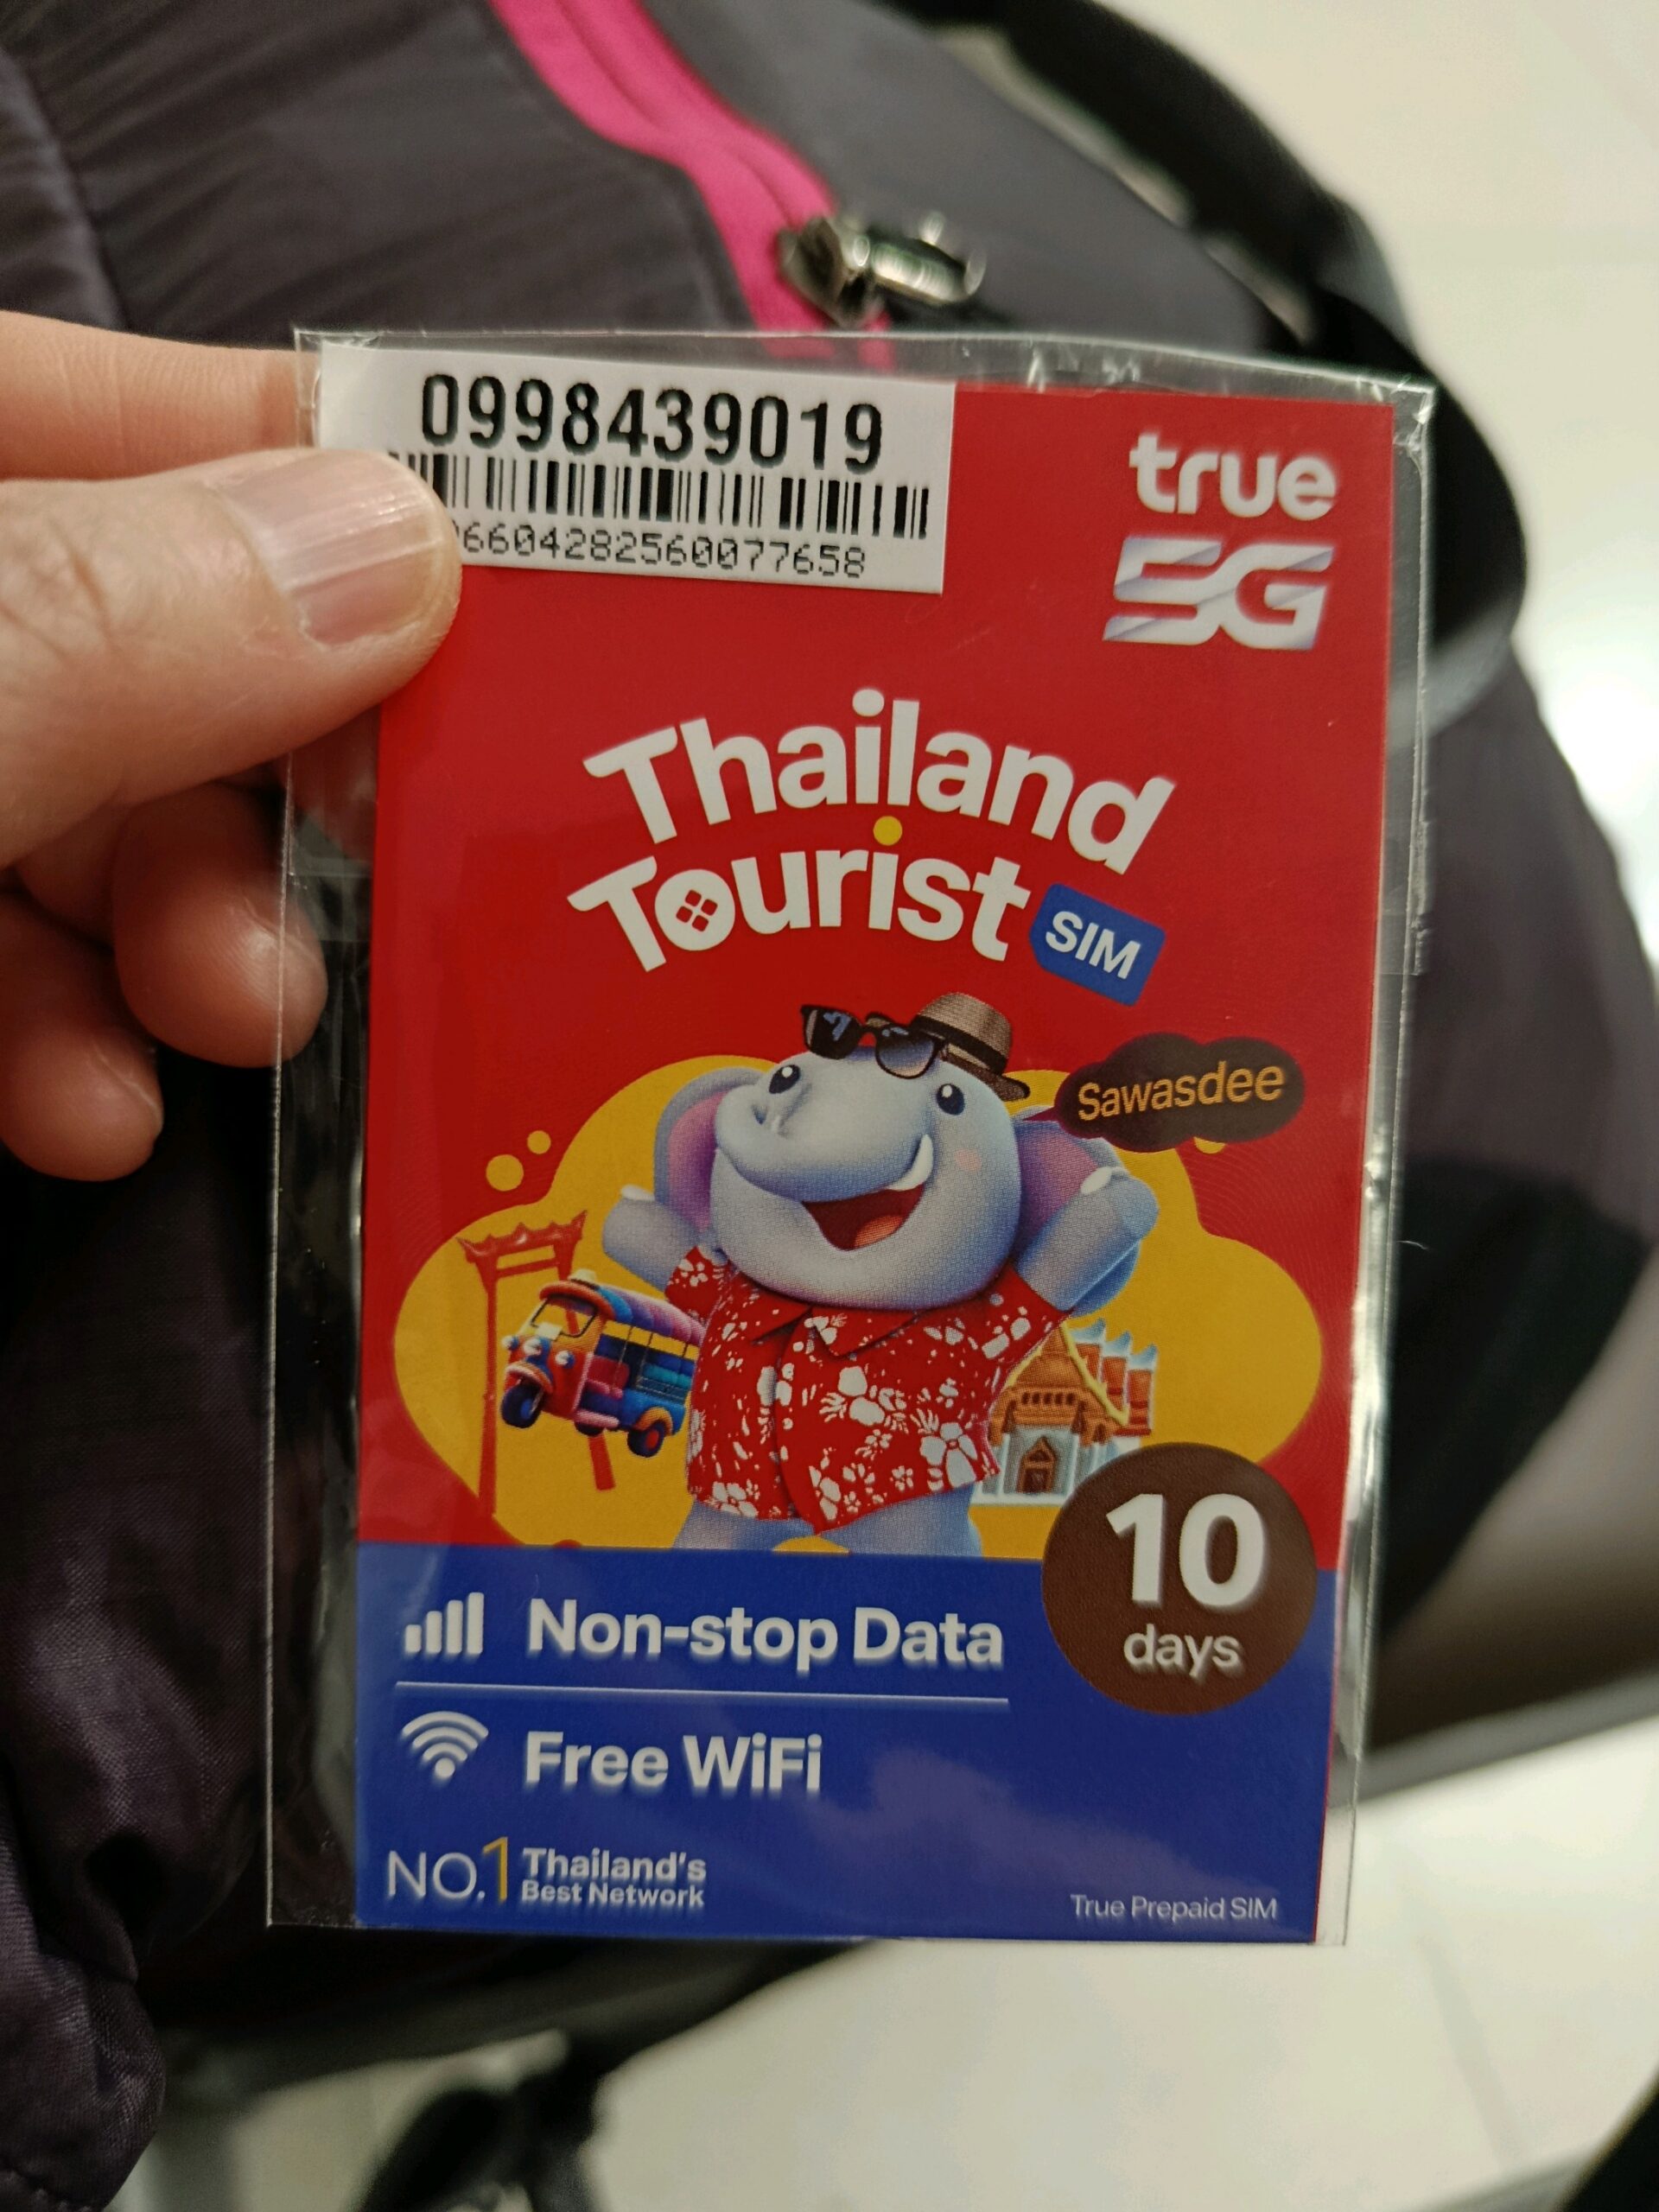
If your phone doesn't support eSIM, you can consider a physical SIM card package that you can pick up at the Thai airport. It’s about S$10 for 15 days (AIS network).
What I love is that I don’t need to remove my home SIM card. I can keep my main number to receive important SMS/OTPs while letting the Thailand eSIM handle all my data needs. Plus, you can still use the Grab app in Thailand—just register it while you're back home, and you can easily message drivers there; they’ll understand you just fine.
Why do I choose the Thailand eSIM on Klook?
I find that Klook really hits the spot for short trips:
- Receive the eSIM almost instantly after payment; no manual waiting time.
- Easy activation directly via the Klook app or by scanning the QR code in your "Bookings" tab.
- Loads of data plan options, whether you’re there for a few days or a longer stay. The price per day is really reasonable.
- It runs on a major Thai network (AIS), so you’ll have stable 4G/5G coverage in the city and even when you’re out and about.
- For the "unlimited" plans, you get high-speed data plus 1Mbps after you hit the daily limit.
Simply put, it’s a no-brainer: book it, leave it, and just install it when you’re ready to fly.
My practical process, it’s quite simple:
Select the eSIM above (or in the box below) and sign in to your Klook account (you can use your Google account for speed).
Choose a plan that fits your travel dates (e.g., if you’re going for 4 days, pick the 4–5 day plan to be safe).
Once you pay, the QR code and detailed installation instructions will be waiting in your "Bookings" section.
I usually handle this part at home, a day or two before the flight, so I’m sorted if anything goes wrong.
Installing the eSIM and using data in Thailand
Before I fly, I go to my phone settings and add the eSIM using the QR code provided by Klook. For iPhone, go to Settings > Cellular > Add eSIM. For Android, just look for the SIM/eSIM management section and scan the code. (Note: On iPhones, it can be a bit tricky—sometimes you need a friend to show the QR code on their phone so you can scan it with yours).
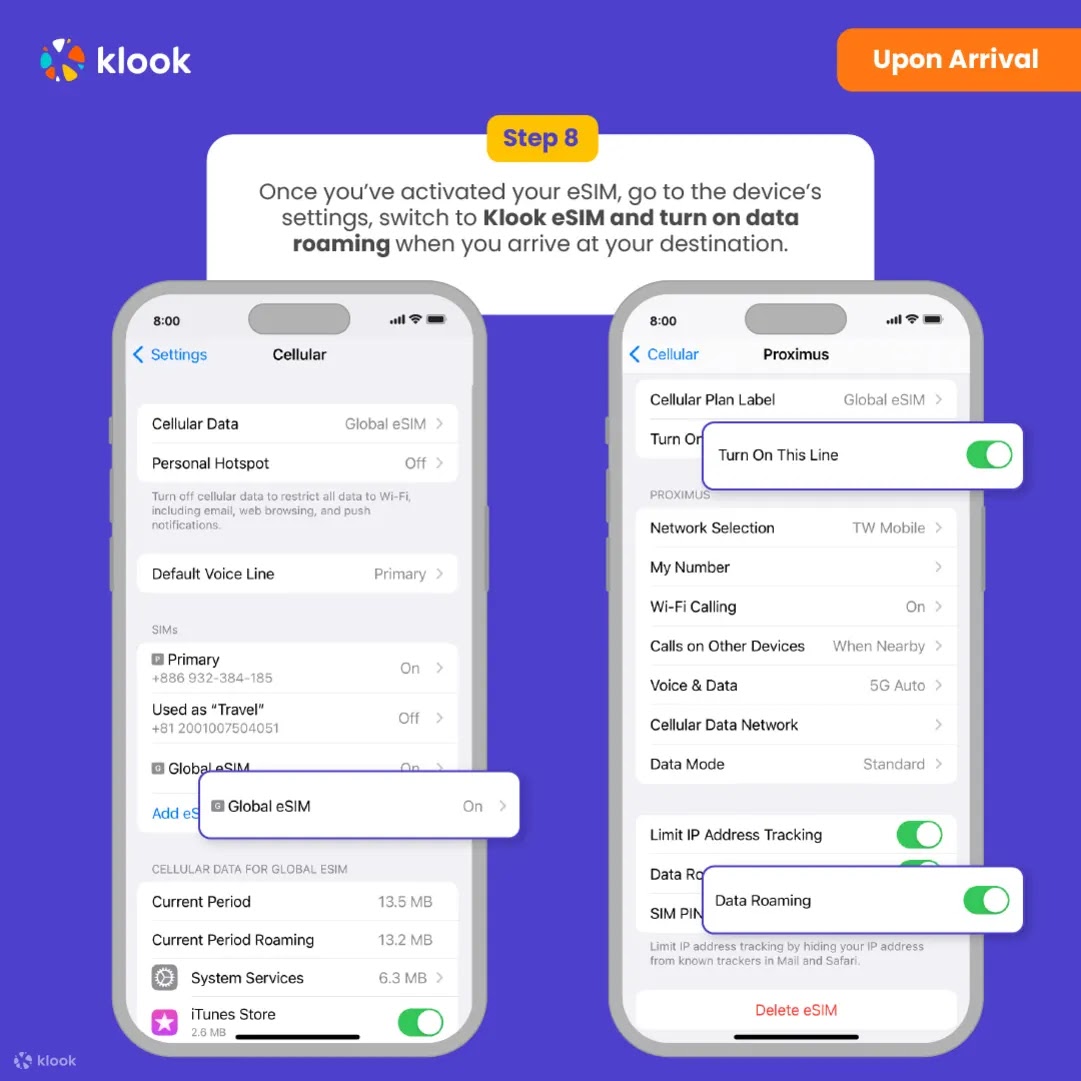
Once the eSIM is saved on my phone, I just leave it be. The moment I touch down at the Thai airport, I just:
- Select the Thailand eSIM as the primary SIM for mobile data.
- Turn on Mobile Data and Data Roaming for the eSIM.
- Wait a few seconds for it to connect to the local network.
Even at the airport, I’m already connected, which means I can Grab a car to my hotel, pull up Google Maps, and check for nearby food spots without queuing at physical SIM counters.
This Thailand eSIM works perfectly for TikTok and Google; no restrictions at all.
Some quick tips for you
After using Klook’s Thailand eSIM, here are my takeaways:
- Install the eSIM at home before you leave. It saves you the stress and rush at the airport.
- Don't switch off your home SIM; keep it on for SMS/OTP, but ensure your data is set to the Thailand eSIM.
- If you run into connectivity issues, just open the Klook app, go to your booking, and tap the contact support button.
- If you run out of data, you can buy more directly in the app. It’s quite cheap—S$1.50 for 1GB, or if you’re a heavy user, just grab the unlimited plan for about S$2/day (minimum 3 days purchase).
Overall, if you’re looking for a reliable place to get a Thailand eSIM, stick with Klook—especially if you’re already used to the app for other travel needs. It really makes the trip hassle-free.
Reference: https://blog.dulichdau.com/mua-esim-thai-lan-chi-17k-ngay-va-kinh-nghiem-thuc-te/
